
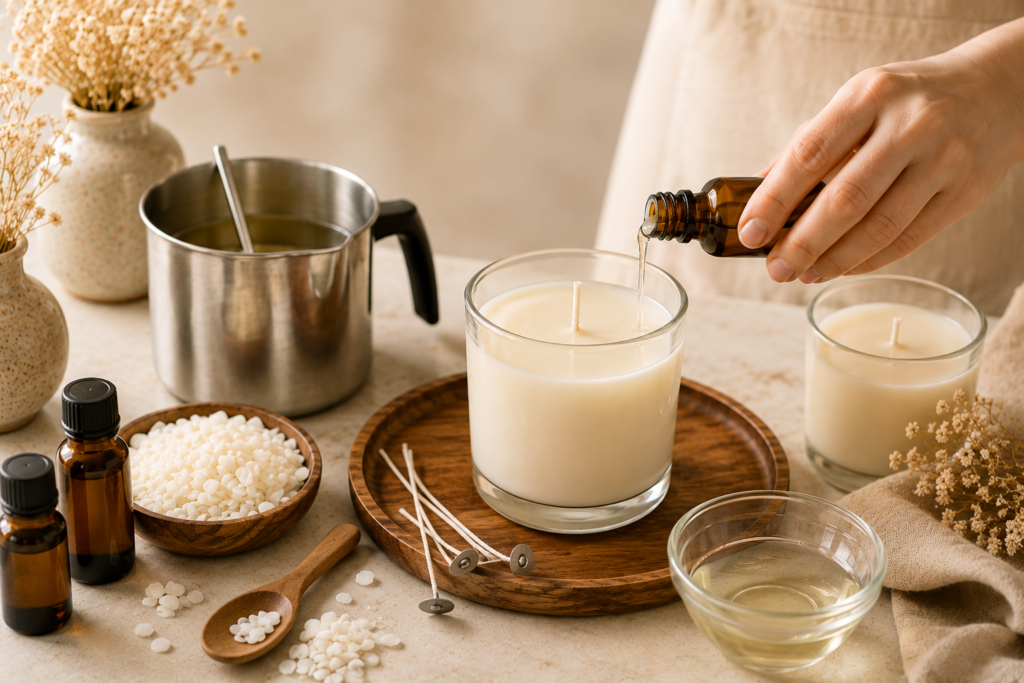
Making scented candles at home is a fun and rewarding hobby. Whether you’re creating candles for yourself, giving them as gifts, or starting a small business, the process is simple once you have the right supplies. With a little practice, you can make beautiful candles that burn cleanly and fill your space with your favorite fragrance.
What You’ll Need
Before you begin, gather your candle-making essentials:
- Candle wax
- Candle wick
- Candle jar or container
- Fragrance oil
- Wick sticker or glue
- Thermometer
- Pouring pitcher
- Stirring utensil
Using quality materials helps produce a smoother finish, better scent throw, and a longer-lasting candle.
Step 1: Prepare Your Container
Secure the wick to the center of your candle jar using a wick sticker or a small amount of glue. Make sure the wick stays upright before pouring the wax.
Step 2: Melt the Wax
Slowly melt your candle wax using a double boiler or a wax melting pitcher. Heat the wax according to the manufacturer’s recommended temperature.
Step 3: Add Fragrance Oil
Allow the wax to cool slightly before adding your fragrance oil. Stir gently for about two minutes to evenly distribute the scent throughout the wax.
Step 4: Pour the Wax
Carefully pour the melted wax into your prepared container, leaving a little space at the top. Keep the wick centered while the wax begins to cool.
Step 5: Let It Cure
Allow your candle to cool completely before trimming the wick to around ¼ inch. For the best fragrance performance, let the candle cure for at least 24 to 48 hours before lighting it.
Tips for Better Results
- Measure fragrance oil accurately.
- Avoid overheating the wax.
- Keep the wick centered during cooling.
- Trim the wick before every burn.
- Store finished candles in a cool, dry place.
Start Creating Your Own Candles
Candle making is easy to learn and offers endless opportunities to experiment with different scents, colors, and containers. With the right supplies and a little creativity, you’ll be making beautiful handmade candles in no time.